1. Use reciprocating saw to cut around the old window.
2. Pull out the lower section of wall.
3. Remove the old door and window from the wall.
4. Use 12-pound sledgehammer to bust out concrete curb at bottom of wall opening.
5. Fasten pressure-treated 2×4 form to floor with concrete screws.
6. Mix quick-setting cement in mortar tub with shovel.
7. Spray the form with a garden hose, then seal outside edge of form with silicone sealant.
8. Fill form with cement, then smooth it with a trowel. Allow cement to cure for 24 hours.
9. Reduce the width of the opening by building a wood-frame wall. Use pressure-treated 2×4 for the sill plate, standard lumber for the wall studs, king studs and top plate.
10. Cover the newly framed wall section with ⅝-inch-thick exterior-grade plywood.
11. Fasten plywood sheathing to studs with 2½-inch (8d) nails.
12. Rip a 2×4 filler to fit across top of wall opening. Nail filler in place with 3½-inch nails.
13. Staple builder’s paper to the exterior surface of the plywood sheathing.
14. Apply thick bead of silicone sealant around nailing flange on doorjamb, and along top of sill.
15. Set doorjamb into rough opening, making sure the nailing flange fits under shingles.
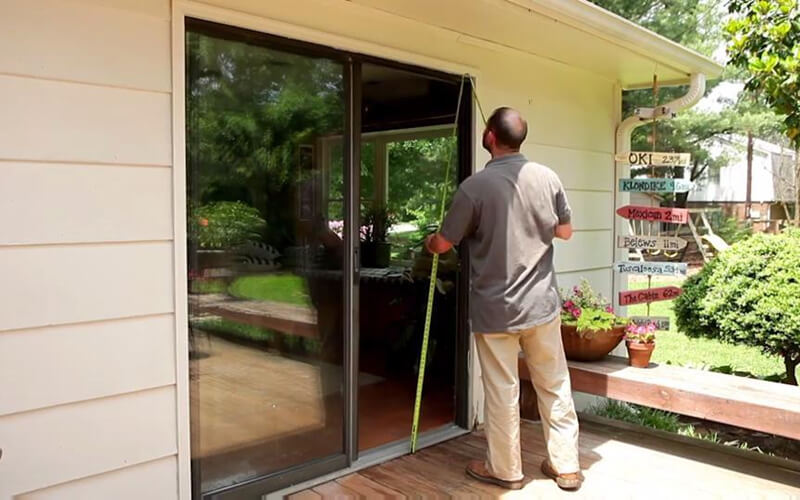
16. Measure the diagonals of the doorjamb to ensure it is square.
17. Secure jamb to rough opening by inserting wood shims behind jamb. Drive 3-inch screws through the jamb and shims, and into the 2×4 frame.
18. Set the active, rolling glass panel into the doorjamb.
19. Install the stationary glass panel into the jamb. Screw through the retaining clips to securely hold the stationary panel in place.
20. Fill the void around the inside of the door with minimal-expanding foam insulation.
21. Cover exterior of new wall section with shingles to match the house.